Why Lighting Defines Render Quality
In architectural visualization, lighting does more than illuminate spaces — it creates mood, defines materials, establishes depth, and guides the viewer's eye. A beautifully modeled space with poor lighting looks unconvincing, while a simple scene with masterful lighting appears photorealistic. Professional visualizers spend more time on lighting than any other aspect of their work. Understanding lighting principles — color temperature, intensity ratios, shadow quality, bounce light — is the foundation of compelling archviz. AI enhancement can refine lighting in post-production, but starting with good lighting fundamentals produces the best final results.


Interior Lighting Techniques for Archviz
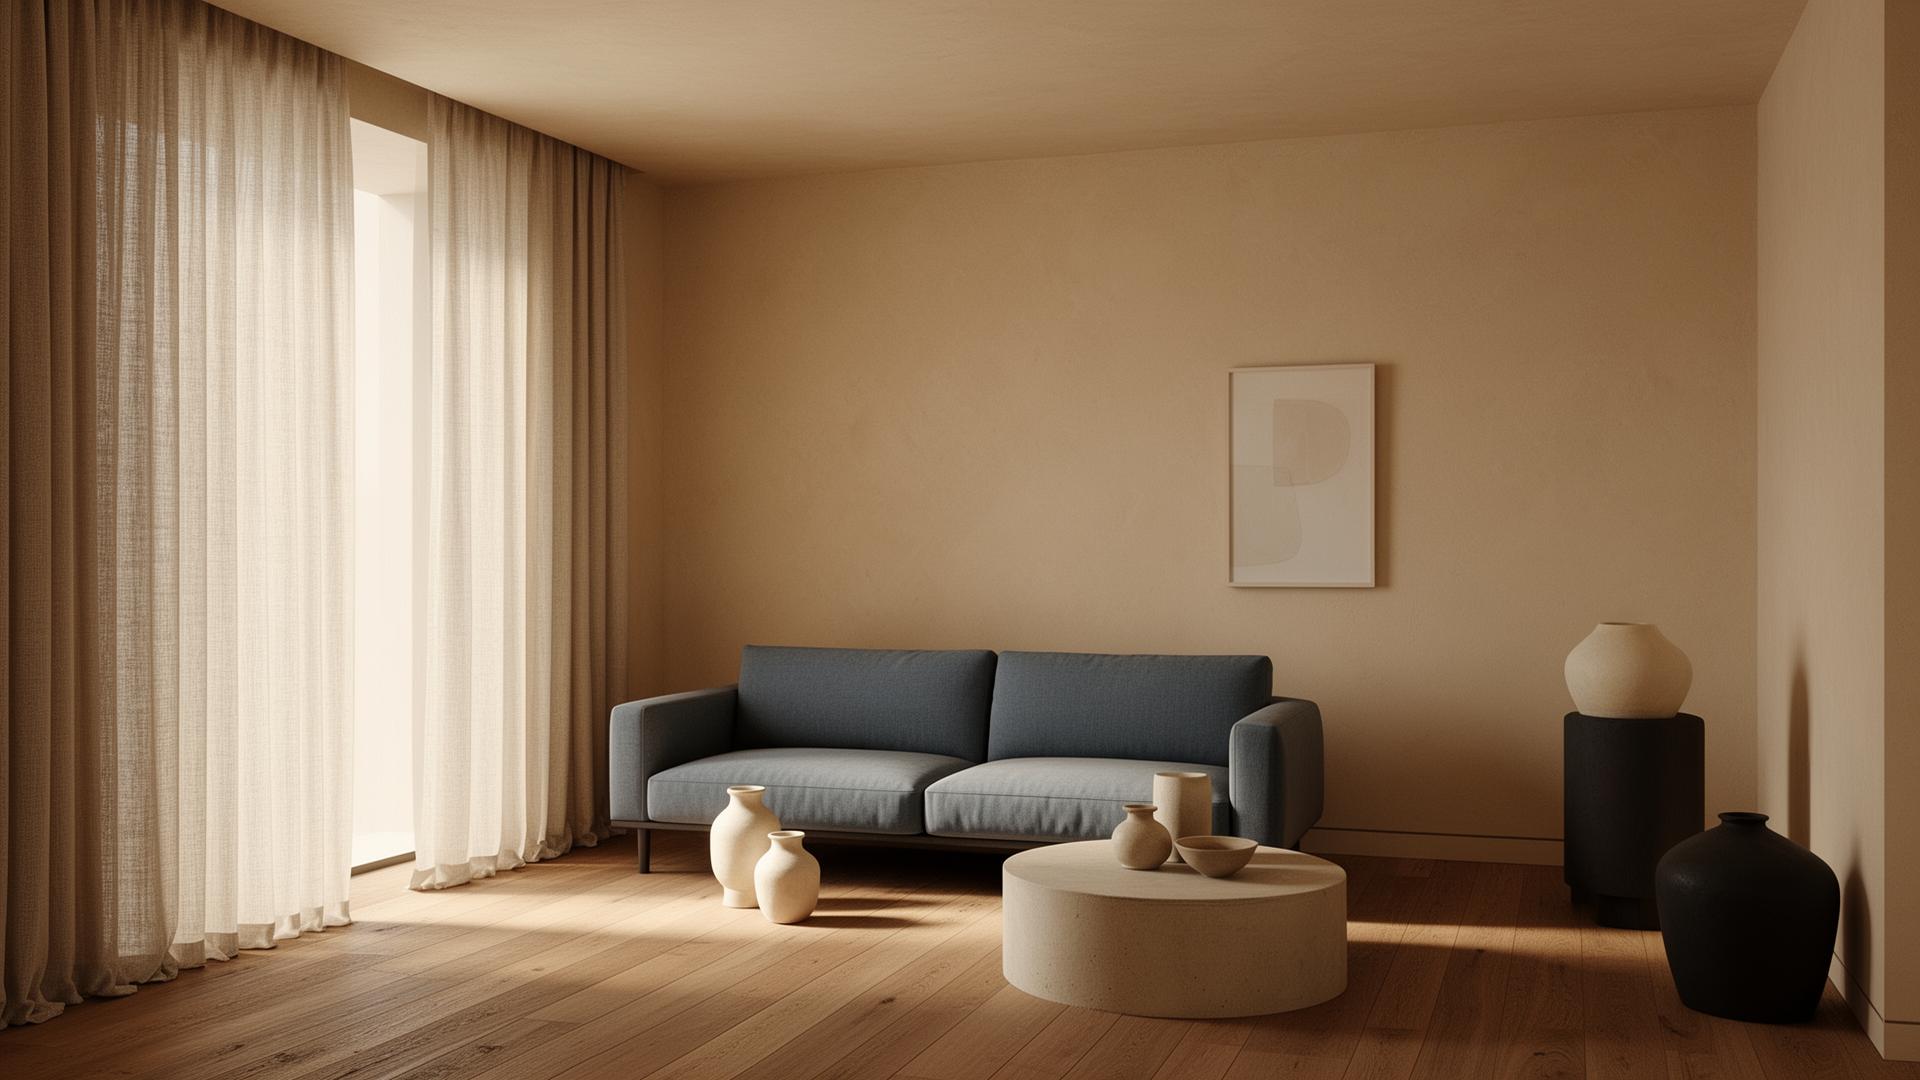
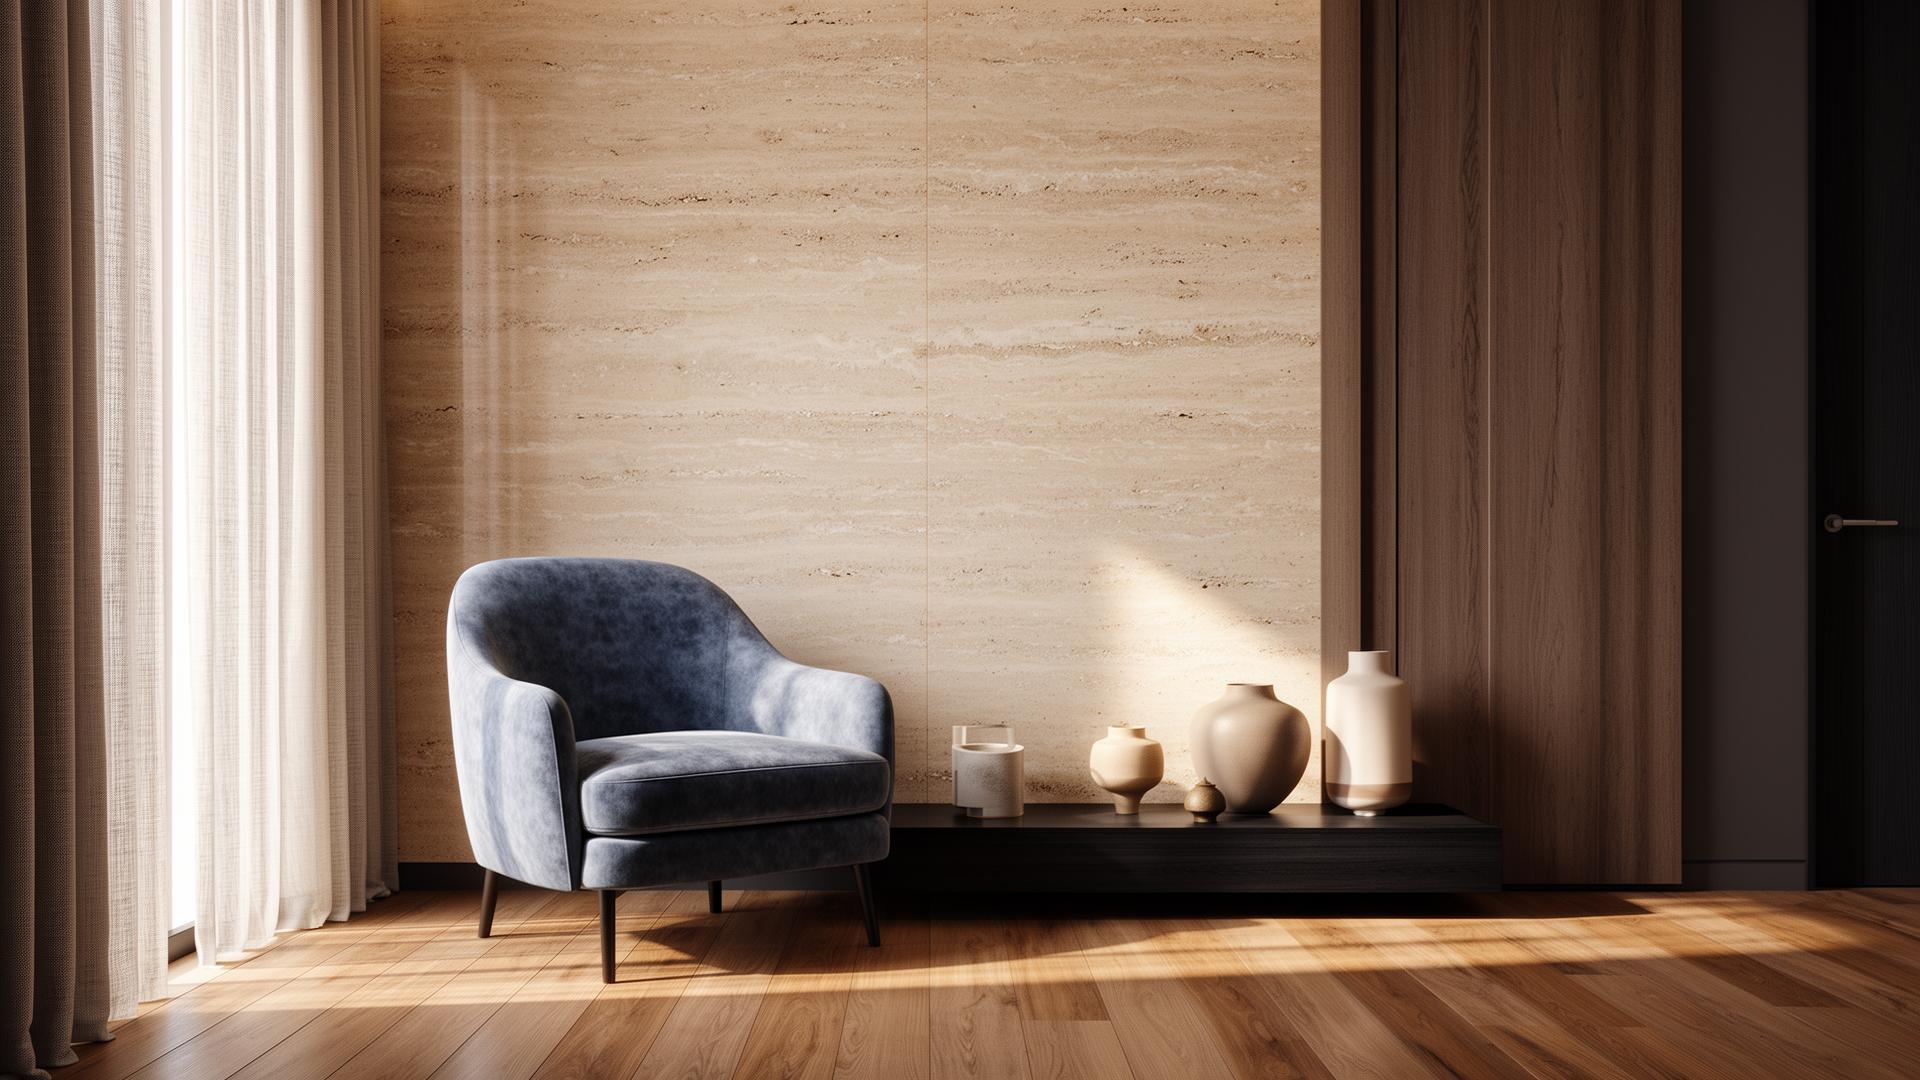
Interior architectural visualization relies on balancing multiple light sources. Natural light from windows provides the primary illumination and establishes time of day — warm golden tones for morning/evening, cool neutral light for midday. Artificial lighting layers add warmth and focus: recessed downlights for ambient fill, pendant fixtures for focal points, under-cabinet and cove lighting for atmosphere. The key technique is maintaining realistic intensity ratios — windows should be the brightest elements, with artificial lights contributing secondary illumination. Avoid the common mistake of evenly lighting interiors, which removes depth and looks flat.
Exterior Lighting Strategies
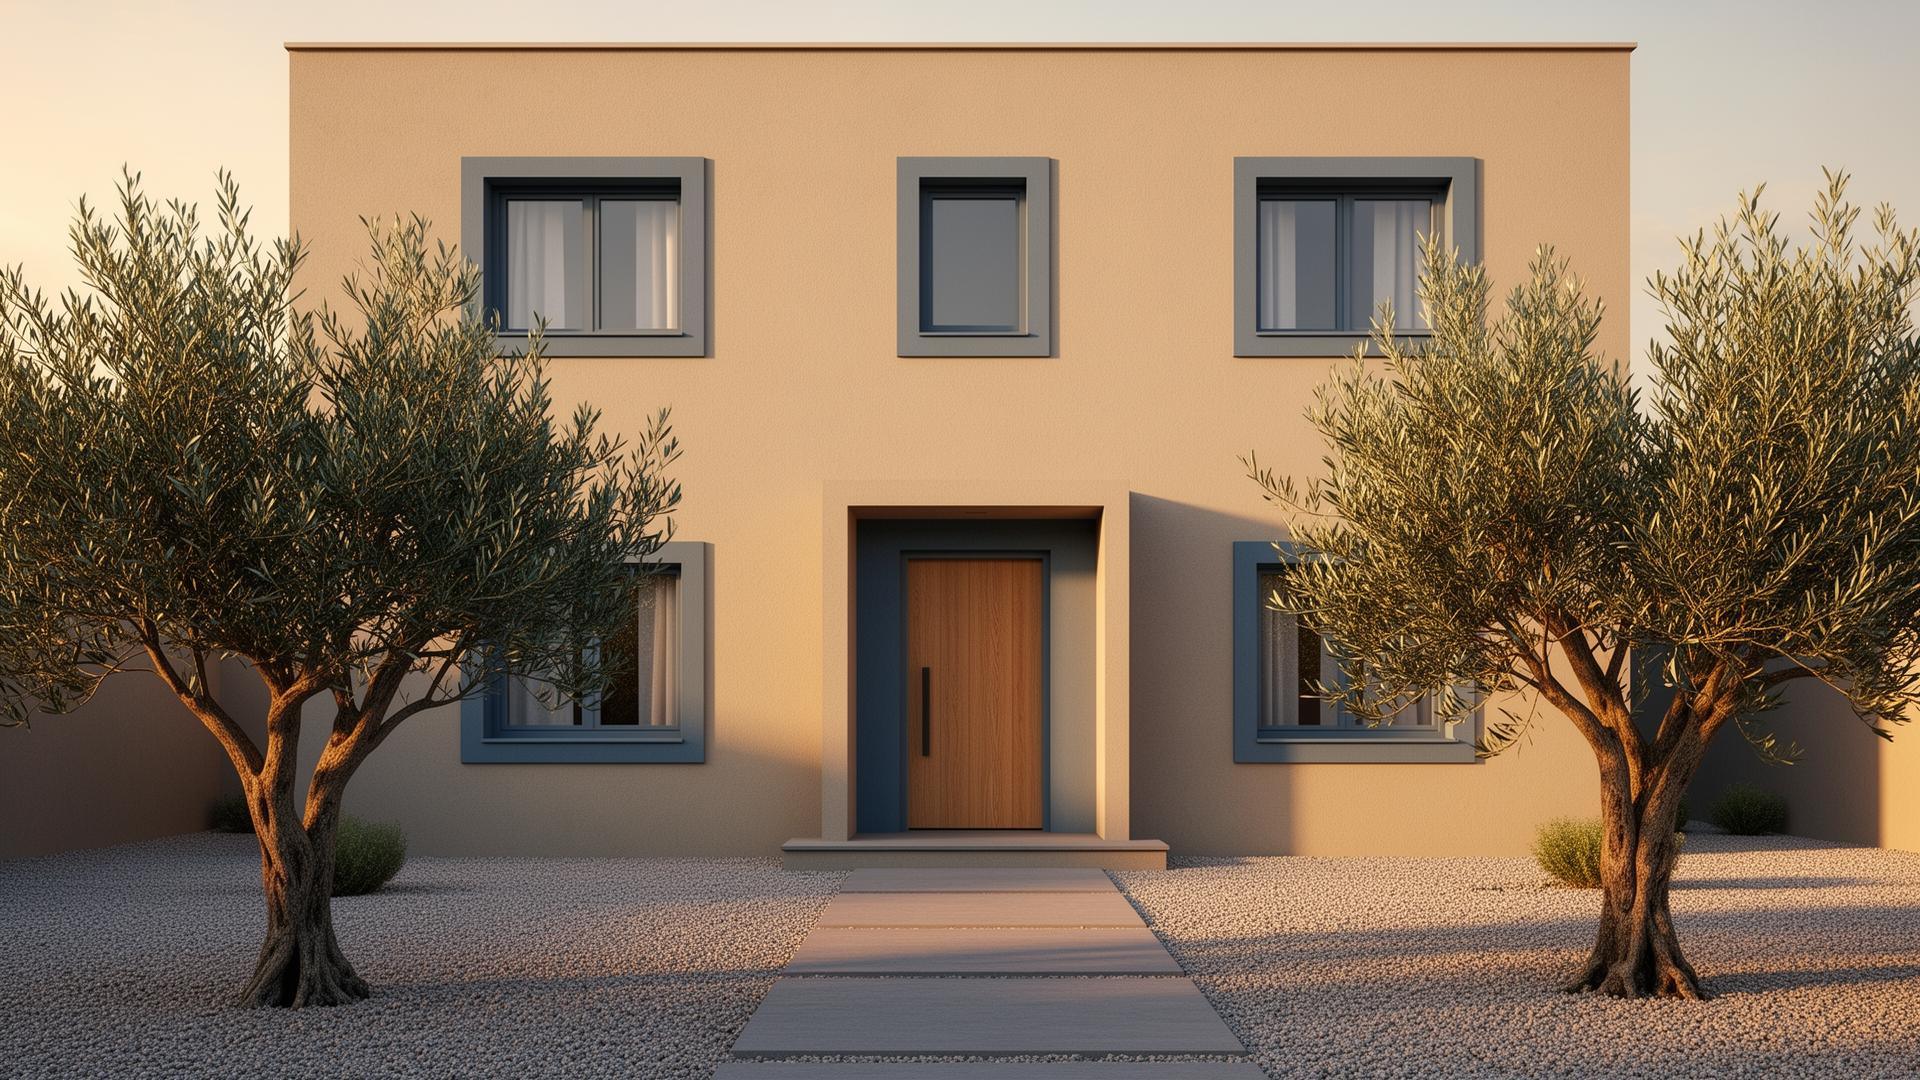
Exterior renders depend heavily on sun position and sky conditions. The 'golden hour' — 30-60 minutes after sunrise or before sunset — produces the most flattering light for architecture, with warm directional light creating long shadows that emphasize building form. Overcast conditions provide soft, even illumination ideal for showing material details without harsh shadows. Dusk renders with interior lights glowing create dramatic, premium-feeling visualizations. For each exterior view, consciously choose the time of day and weather conditions that best showcase your design's strengths — sun angle, shadow patterns, and sky drama all contribute to visual impact.
HDRI Lighting for Exterior Scenes
High Dynamic Range Image (HDRI) lighting is the most efficient way to create realistic outdoor illumination in architectural renders. An HDRI sky map provides both the light source (sun position and intensity) and the environmental reflection map for glass and metallic surfaces — all from a single image. The key to professional HDRI use: match the HDRI sun position to your desired shadow direction, select HDRIs that complement your architectural style (clear skies for modern glass buildings, dramatic clouds for monumental structures), and adjust the HDRI rotation to place the most interesting sky elements behind or beside your building, not competing with it. Free HDRI libraries like Poly Haven provide architectural-grade sky maps suitable for professional work.
“Interior architectural visualization relies on balancing multiple light sources.”
Three-Point Lighting for Interior Visualization
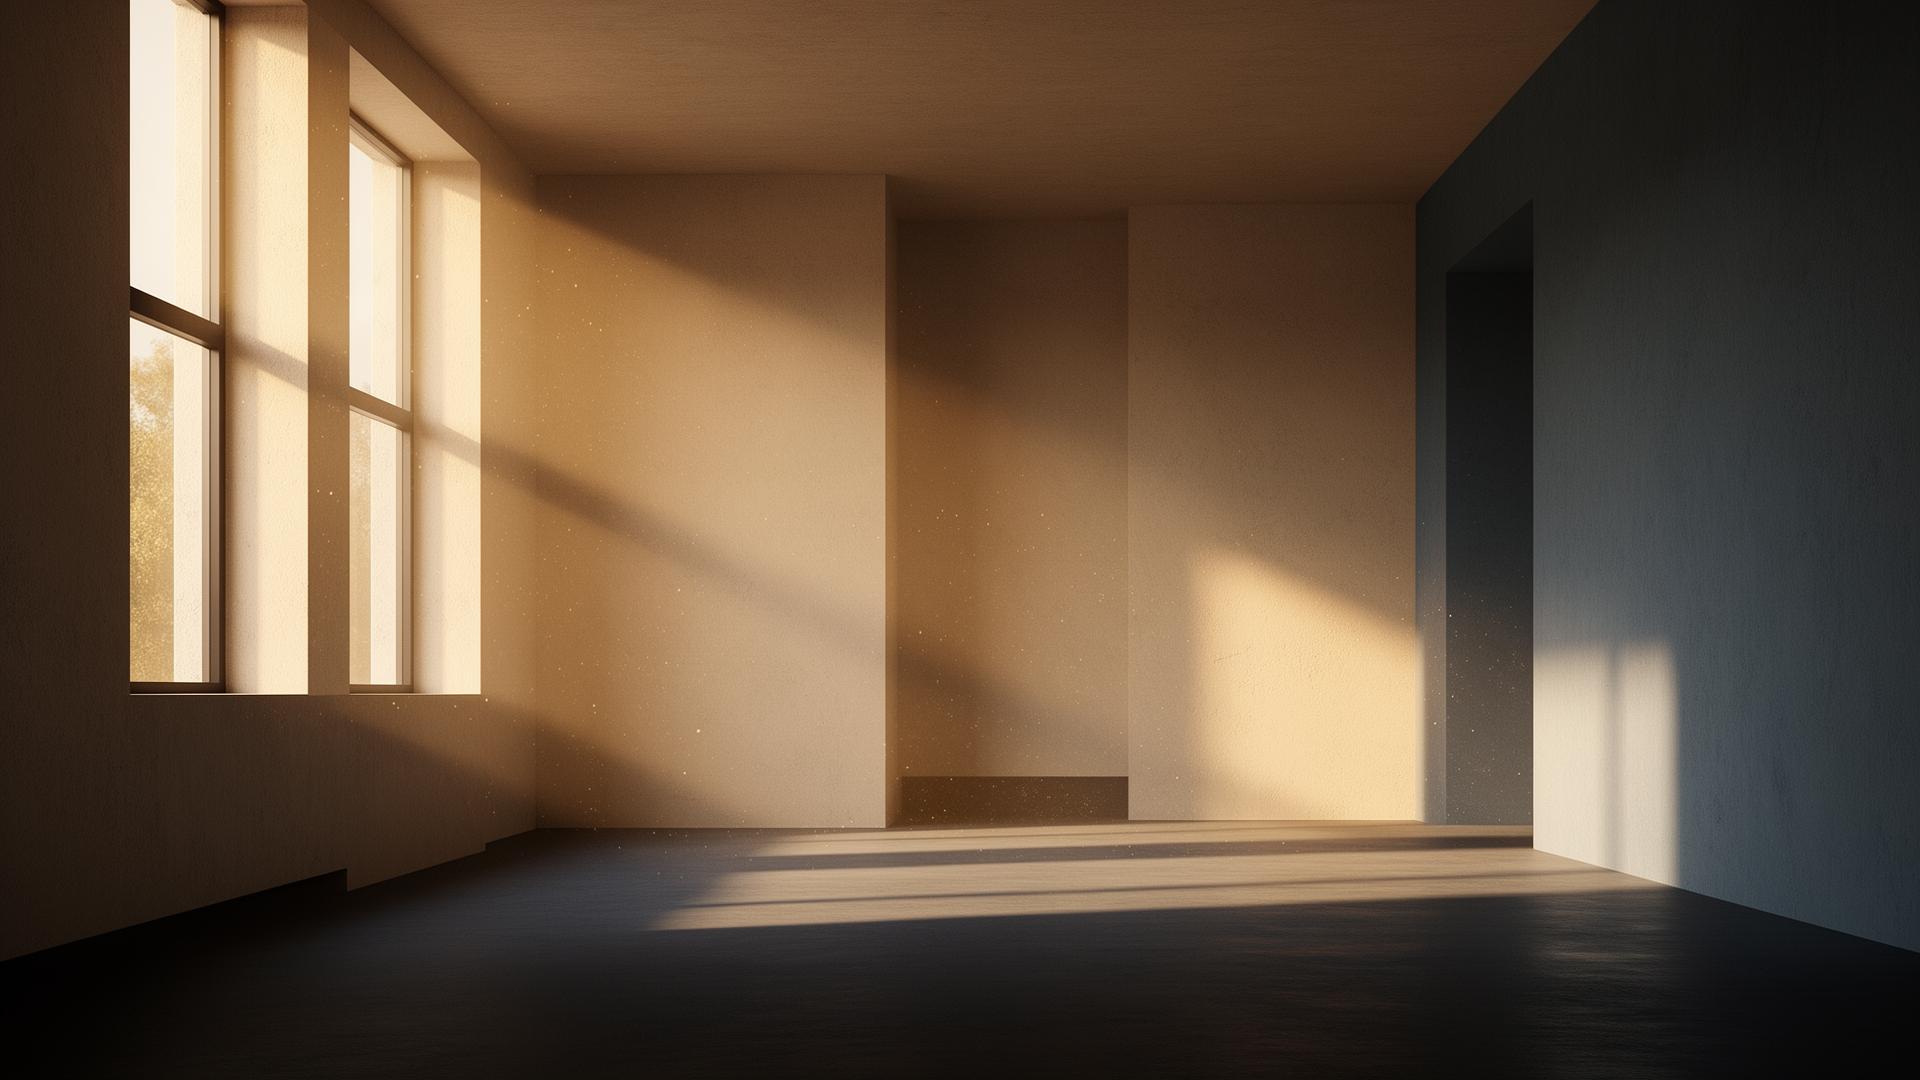
The three-point lighting technique, borrowed from photography and film, creates depth and dimension in interior archviz. The key light (usually the main window or dominant artificial source) provides primary illumination and establishes shadow direction. The fill light (typically bounce light from opposite walls or secondary light sources) softens shadows without eliminating them. The rim or accent light (backlight from behind furniture or architectural features) separates objects from backgrounds and adds depth. In archviz, these three roles are fulfilled by window light, ambient bounce, and accent fixtures — but consciously thinking in three-point terms helps avoid flat, evenly-lit scenes.
Time-of-Day Lighting: Golden Hour, Blue Hour, Midday
Each time of day creates distinct architectural visualization moods. Golden hour (shortly after sunrise or before sunset) produces warm, directional light with long shadows — ideal for residential projects and luxury developments where warmth and atmosphere sell the design. Blue hour (20-40 minutes after sunset) creates a cool, twilight ambiance where interior lights glow warmly against a deep blue sky — the most dramatic option for commercial buildings and hospitality projects. Midday light provides neutral, even illumination that's best for showing material accuracy in planning submissions or technical documentation. Choose your time of day based on what you need the image to communicate, not just what looks pretty.
Software-Specific Lighting Tips
V-Ray: Use V-Ray Sun + Sky for exteriors, VRayLight portals at windows for faster interior convergence, and the V-Ray Light Lister to manage all scene lights from one panel. Corona: Corona Sun provides excellent outdoor lighting; use LightMix in the VFB to adjust all light intensities after rendering without re-rendering the scene. Lumion: Leverage the Real Skies system for exterior lighting and use the two-point perspective effect to avoid distorted verticals. D5 Render: The AI-powered sky system produces realistic atmospheric effects; pair with manual light probes for interior scenes.
Common Lighting Mistakes in Architectural Visualization
The most common lighting mistakes include: overly bright, flat illumination without shadow depth; unrealistic color temperatures (too warm or too cool for the scenario); ignoring bounce light from colored surfaces; placing light sources at physically impossible positions; and using identical lighting setups across different scenes. Each space has unique lighting characteristics — a north-facing living room with floor-to-ceiling windows has very different light quality than a basement apartment with small windows. Match your lighting to the architectural reality of the space for maximum realism.
How AI Enhancement Refines Lighting in Post-Production
AI enhancement can significantly improve lighting quality after rendering. The AI refines global illumination accuracy, improves shadow softness and falloff, corrects color temperature inconsistencies, and adds subtle atmospheric effects like light scattering and ambient haze. This is particularly valuable when your render engine's lighting calculations didn't fully converge — AI fills in the gaps, smoothing noisy indirect illumination and enhancing light-to-shadow transitions. While AI can't fix fundamentally wrong lighting setups, it elevates good lighting to great lighting and makes medium-quality renders look premium.
How vaethat Helps Refine Your Lighting
vaethat's AI is trained to understand architectural lighting — the way sunlight interacts with interior surfaces, how artificial fixtures create pools of warm illumination, and the atmospheric depth that separates professional renders from amateur ones. Upload a render with good lighting fundamentals and vaethat refines the global illumination, softens harsh shadow transitions, corrects color temperature between natural and artificial sources, and adds the subtle atmospheric haze that makes spaces feel real. It's the equivalent of a lighting-focused post-production pass that would take 30-60 minutes in Photoshop, delivered in under 2 minutes.
Frequently Asked Questions
What's the most important lighting tip for archviz beginners?
Start with natural light only — place your sun and sky correctly, then evaluate the result before adding artificial lights. Most beginner mistakes come from adding too many light sources too early, creating unrealistic illumination. Build lighting in layers: natural first, then ambient artificial, then accent lights.
Which rendering software has the best lighting tools?
V-Ray and Corona offer the most control over lighting for photorealistic results. Lumion provides faster, more intuitive lighting workflows. All produce renders that can be further improved with AI enhancement through vaethat.
Can AI fix bad lighting in a render?
AI enhancement can improve lighting quality significantly — refining shadows, color temperature, and ambient illumination. However, it works best when the fundamental lighting direction and mood are already established. For completely dark or incorrectly lit scenes, adjusting the 3D scene lighting first produces better results.
How do I light a room with no windows?
For windowless spaces, rely on artificial lighting to create depth: use a mix of warm and cool light sources at different heights, create pools of light and shadow rather than uniform illumination, and consider adding emissive materials (backlit panels, LED strips) for visual interest and ambient fill.
What is the best time of day for exterior renders?
Golden hour (shortly after sunrise or before sunset) is most popular for residential projects — warm light with dramatic shadows. Blue hour (twilight) creates premium-feeling images for commercial and hospitality projects. Midday works best for planning submissions where neutral, accurate lighting is required.
What is HDRI lighting and do I need it?
HDRI (High Dynamic Range Image) lighting uses panoramic sky photographs as both light sources and reflection environments. It's the most efficient way to create realistic outdoor illumination and is recommended for all exterior archviz work. Free HDRI libraries like Poly Haven provide professional-quality sky maps.
How many light sources should an interior render have?
There's no fixed number — it depends on the space. Follow the architectural lighting design: windows for natural light, ambient fixtures (recessed, cove) for fill, and accent lights (pendants, table lamps) for focus. The key is realistic intensity ratios, not the number of sources. Avoid adding lights that don't correspond to actual fixtures in the design.
Ready to put this into practice? Try vaethat to AI-powered rendering enhancement in one click, no prompts, no Photoshop.